Creating a System Image in Windows 7
 (This is the first of a series of posts covering information taken from my latest book, Upgrading and Fixing Computers Do-It-Yourself For Dummies.)
Windows 7’s Backup and Restore program lets you create a “System Image,” as well as a regular backup. Different from a regular backup, System Image contains everything on your computer’s C drive: your activated copy of Windows and your installed programs, as well as your files and libraries.
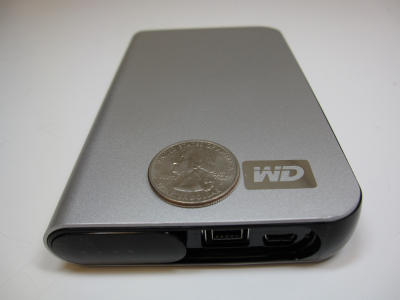
A portable hard drive is the perfect receptacle for a System Image, as you can keep the portable drive in a safe location, far from any hazards that may befall your PC. (I really like the Western Digital “Passport” drive I bought at Costco, shown in the margin.)
When your C drive eventually dies or you’re hankering to upgrade to a bigger, faster Windows drive, a System Image is your best friend. Here’s how to create one:
- Plug a portable hard drive into your computer’s USB port. No portable hard drive? You can still choose to save your System Image to either a second internal drive in your PC or to a network location. Those areas aren’t perfect backup locations, but they’re better than nothing.
- Click on the Start button, choose Control Panel, and choose Backup Your Computer from the System and Security section. Then choose “Create a System Image” from the left pane, shown below:

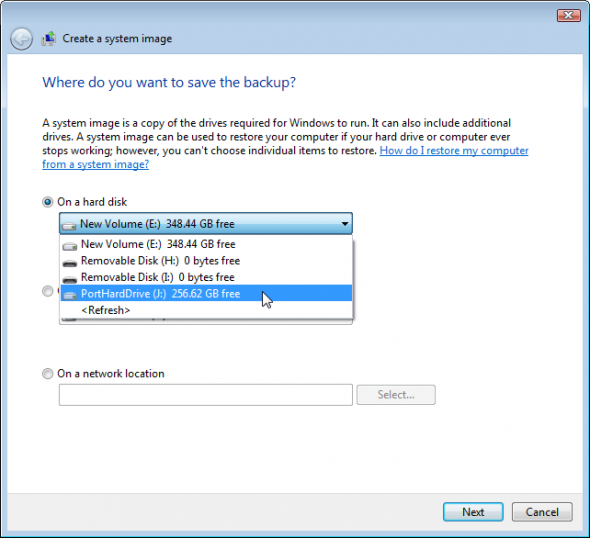
- Choose where you want to save the image: a hard drive, a handful of DVDs, or on a network location. Click the “On a hard disk” drop-down menu, choose your portable hard drive, and choose Next. (Your hard drive will probably have a different letter than the one in the figure below.)

- Click Next at the following window, which confirms that you’re creating a System Image of your “(C:) (System)” partition, which is where Windows and your files live. Then click Start Backup; the backup takes about a half hour for each 100 GB of files, but you can continue working while backing up.
- When the backup finishes, take up Windows’ offer to Create a Bootable Repair Disk: Insert a blank CD into your CD/DVD burner, and follow the instructions.
Later, if your C drive dies or you’ve replaced it with a larger hard drive, you can insert the repair disk into your CD or DVD drive, and turn on your PC. Your PC boots from the CD, and offers an option to restore your system image backup. Take it up on its offer, browse to your saved System Image, and let Windows 7 put itself – and your data — back onto your hard drive to bring everything back to normal.
______________________________________________________________________________________________________________
 My latest book, Upgrading and Fixing Computers Do-It-Yourself For Dummies, features easy step-by-step guides with photos that help you upgrade and maintain your computer, laptop, or netbook.
The book is available now on Amazon.
Posted: March 15th, 2010 under Books, Hardware, Upgrading and Fixing Computers Do-It-Yourself For Dummies, Windows 7.
Tags: backup, create, creating a system image, system image, Upgrading and Fixing Computers Do-It-Yourself For Dummies


Comment from YASEEN
Time June 20, 2010 at 5:20 am
I AM VERY HAPPY TO SEE THIS WEBSITE, THANKS MAN