Setting up “Windows XP mode” in Windows 7
 (This is the third in a series of posts covering information taken from my book, Upgrading and Fixing Computers Do-It-Yourself For Dummies.)
Many Windows XP programs run fine under Windows 7, but a few oldsters refuse to adjust to the new world of Windows 7. To help your old Windows XP programs keep gasping along, Microsoft released “Windows XP Mode.”
This free download lets you run Windows XP programs while sequestered inside their own Windows 7 window.
Even when running in their own happy Windows XP world, the Windows XP programs have access to your real computer’s files and disk drives, making for a peaceful coexistence with Windows 7.
Unfortunately, the first version of Windows XP mode required computers with a special type of CPU, leaving out many potential customers. Microsoft has upgraded its software to remove the CPU requirement, but Windows XP mode still only runs on Windows 7’s Enterprise, Professional, or Ultimate versions.
Follow these steps to install Windows XP Mode on your Windows 7 computer and begin running your holdout Windows XP programs within their own happy Windows XP world:
- Visit Microsoft’s Windows Virtual PC Web site (below) and fill out a short questionnaire about both your Windows 7 version (32- or 64-bit) and your preferred language. (Windows XP comes in about two dozen different languages.)
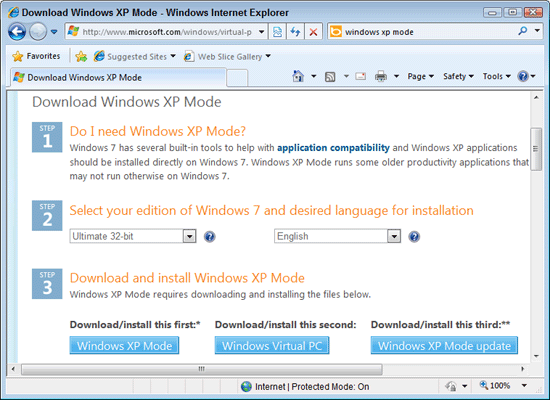
- Download each of the three files listed by the Web site: Windows XP Mode, Windows Virtual PC, and Windows XP Mode Update. (You may also need to download and run Microsoft’s Windows Activation Update to prove you’re running a legitimate version of Windows 7.)
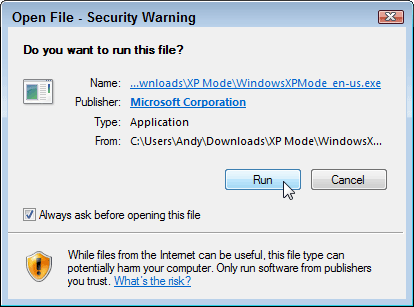
- First, run the Windows XP Mode program. (The downloaded file was called WindowsXPMode_en-us.exe on my computer; yours should be named something similar.)
- Second, run the Windows Virtual PC program, also known as KB958559. You need to restart your computer afterward.
- Finally, run the Windows XP Mode Update, also known as KB977206, and restart your computer, once again. (This is the update that removes the hardware virtualization requirement, allowing more computers can run the program.)
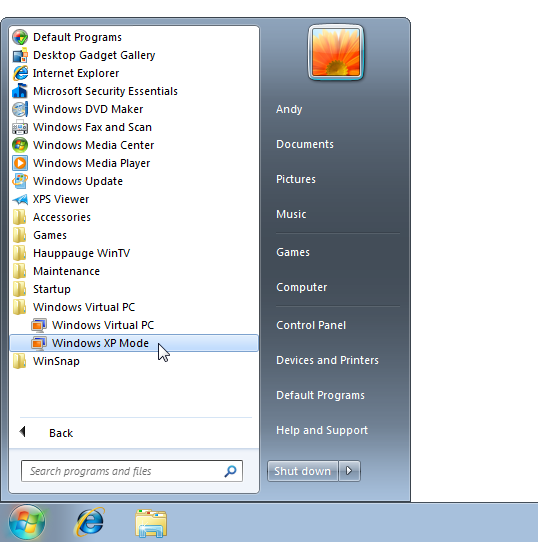
- Open Windows XP Mode by clicking Start, choosing All Programs, clicking Windows Virtual PC, and choosing Windows XP Mode.
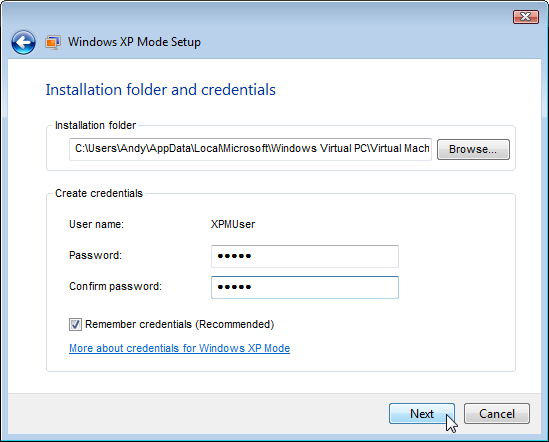
- In a strange deja vu, you find yourself installing Windows XP once again, clicking your way past a licensing agreement screen, and entering a password for your given username of “XPMUser.”
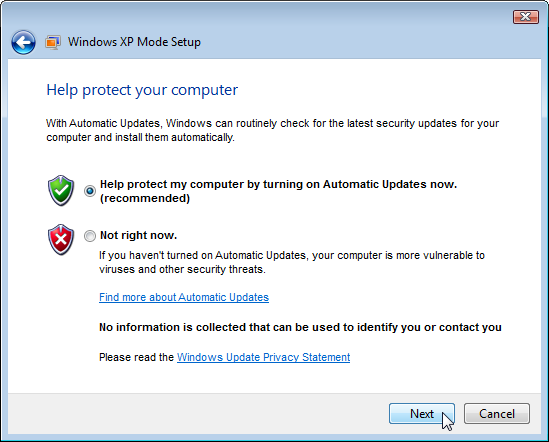
- Be sure to let the program turn on Automatic Updates to keep your virtual XP world updated through Windows Update. Remember, Windows XP isn’t nearly as secure as Windows 7.
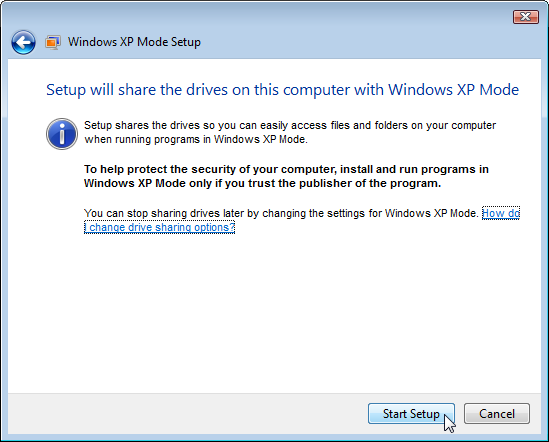
- Click Start Setup to give your Windows XP window access to the files and folders on your Windows 7 computer.
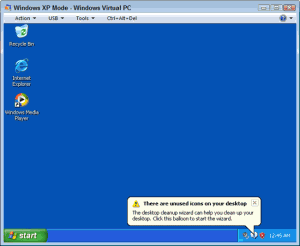
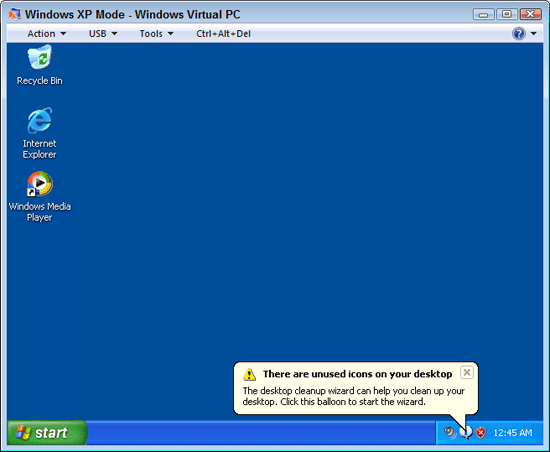
Windows 7 begins setting up Windows XP Mode, and ends by showing Windows XP running within its own window, complete with its cheery welcome message: “There are unused icons on your desktop.” Welcome back to Windows XP!
To start exploring, open the My Computer program from the Start menu, and you’ll see your computer’s disk drives.
Windows XP Mode differs from a “real” version of Windows XP in several ways:
- To install a program, insert the program’s CD or DVD into the drive, and install it from there. (You’ll need to double-click your CD or DVD drive’s icon to open it, then double-click the file named setup.exe to begin installing the program.)
- Windows XP Mode runs Windows XP Service Pack 3, not the first version of Windows XP. That means that the billions of patches Microsoft has released over the last decade are included, so Windows XP mode installs much more quickly than that old Windows XP CD sitting in your desk drawer.
- USB plug-in drives — flash drives, portable hard drives and the like — show up in both Windows 7 and Windows XP, which is very handy.
- You can cut and paste between your Windows XP and your Windows 7 worlds (also very handy).
- Once you’ve installed Windows XP programs in Windows XP mode, they show up on your Windows 7 Start menu. Click the Start button, choose All Programs, click Windows Virtual PC, and you’ll see your Windows XP program listed.
- Close down Windows XP Mode from its own Start menu. Or, click the Ctrl+Alt+Del menu atop the window; then click the Shut Down button.
- Windows XP Mode loads your virtual Windows XP world with 512MB of memory. Surprisingly, this is plenty for most old Windows XP programs. But if you need more memory, close Windows XP Mode and perform a virtual upgrade: Click the Start button, choose All Programs, click Windows Virtual PC. Windows Virtual PC opens, and it looks just like a folder. Click the Windows XP Mode entry, click Settings on the menu bar, and start tweaking any of its settings, including its 512MB memory limit.
Windows XP Mode isn’t for everybody, and it’s not as easy to use as a standalone Windows XP computer. But if you simply must keep that Windows XP program running, it’s a convenient life-support system.
______________________________________________________________________________________________________________
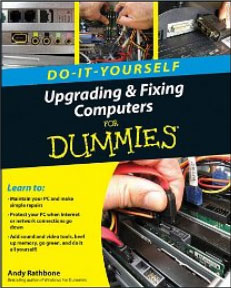 My book, Upgrading and Fixing Computers Do-It-Yourself For Dummies, features easy step-by-step guides with photos that help you upgrade and maintain your computer, laptop, or netbook.
Check it out now on Amazon.com!
Posted: May 3rd, 2010 under Books, Upgrading and Fixing Computers Do-It-Yourself For Dummies, Windows 7, Windows XP.
Tags: setting up Windows XP mode, Windows Virtual PC, Windows XP Mode
Comments
Comment from Andy Rathbone
Time July 28, 2010 at 5:51 pm
Dave, Windows XP Mode can only recognize one optical (CD or DVD) drive at a time. You can switch which drive to make available by using “Settings” from the “Tools” mode. But you can’t access both drives simultaneously.
Comment from Mr. ComputerWiz
Time May 16, 2011 at 12:44 pm
Love IT!


Comment from Dave
Time July 28, 2010 at 3:31 pm
My Windows XP Mode will not recognise both of the CD Roms connected to my computer and list them at the same time (It is either one or the other). Is this the way it is supposed to be? Thanks!